This year it has a red roof, yummy spices inside with honey.


Got an upgrade with candy window glass and a high tech LED candle flickering through the glass.


A sewing, knitting, felting and crochet blog by Mirela Popovici
This year it has a red roof, yummy spices inside with honey.
Got an upgrade with candy window glass and a high tech LED candle flickering through the glass.
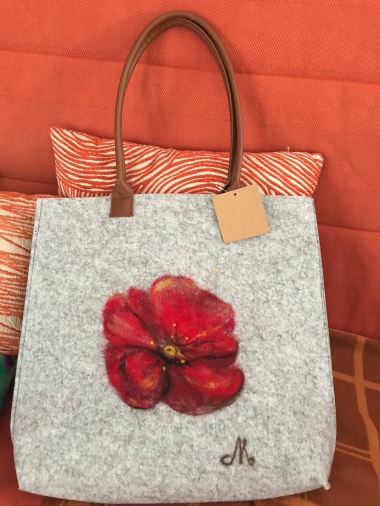


Time for a quick hand made needle felted poppy purse for a Christmas present.
I chose wool roving in red, brown, black, yellow, hand felted over a ready made felt bag using the Clover tools. The embellisher machine would not work as it was too thick. Yup, broke two needles.
Hope this will be put to good use 🙂
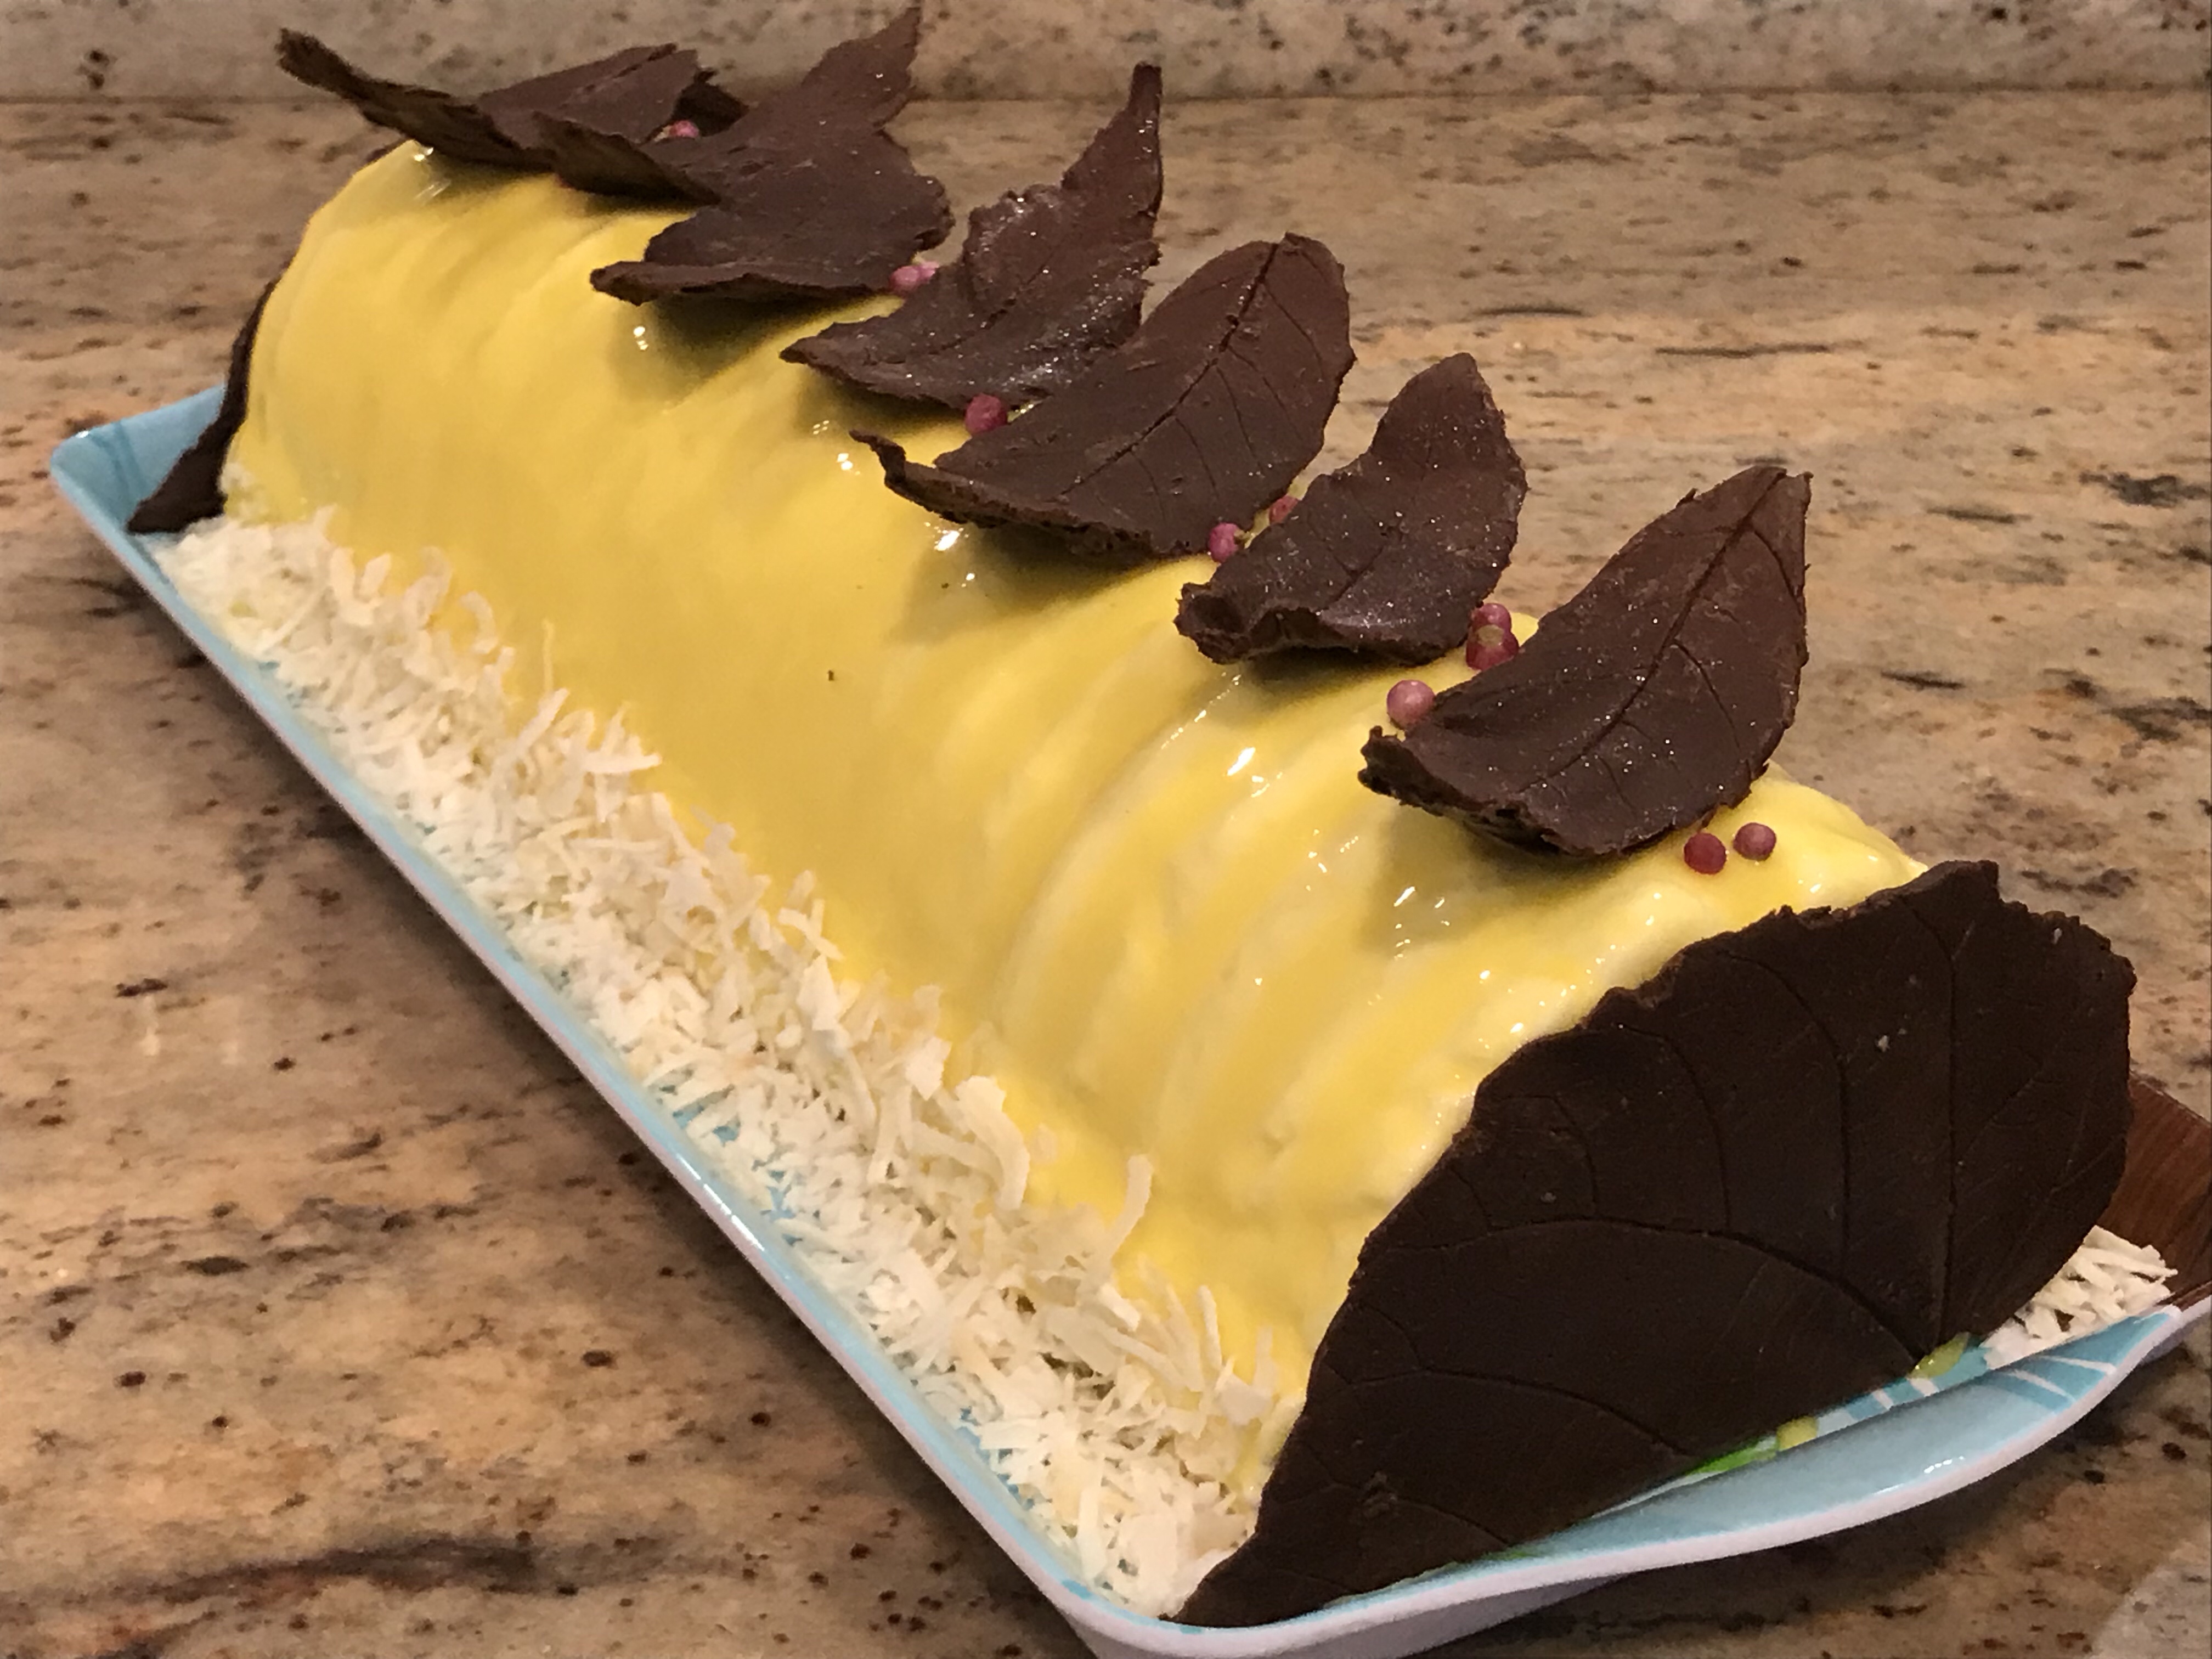
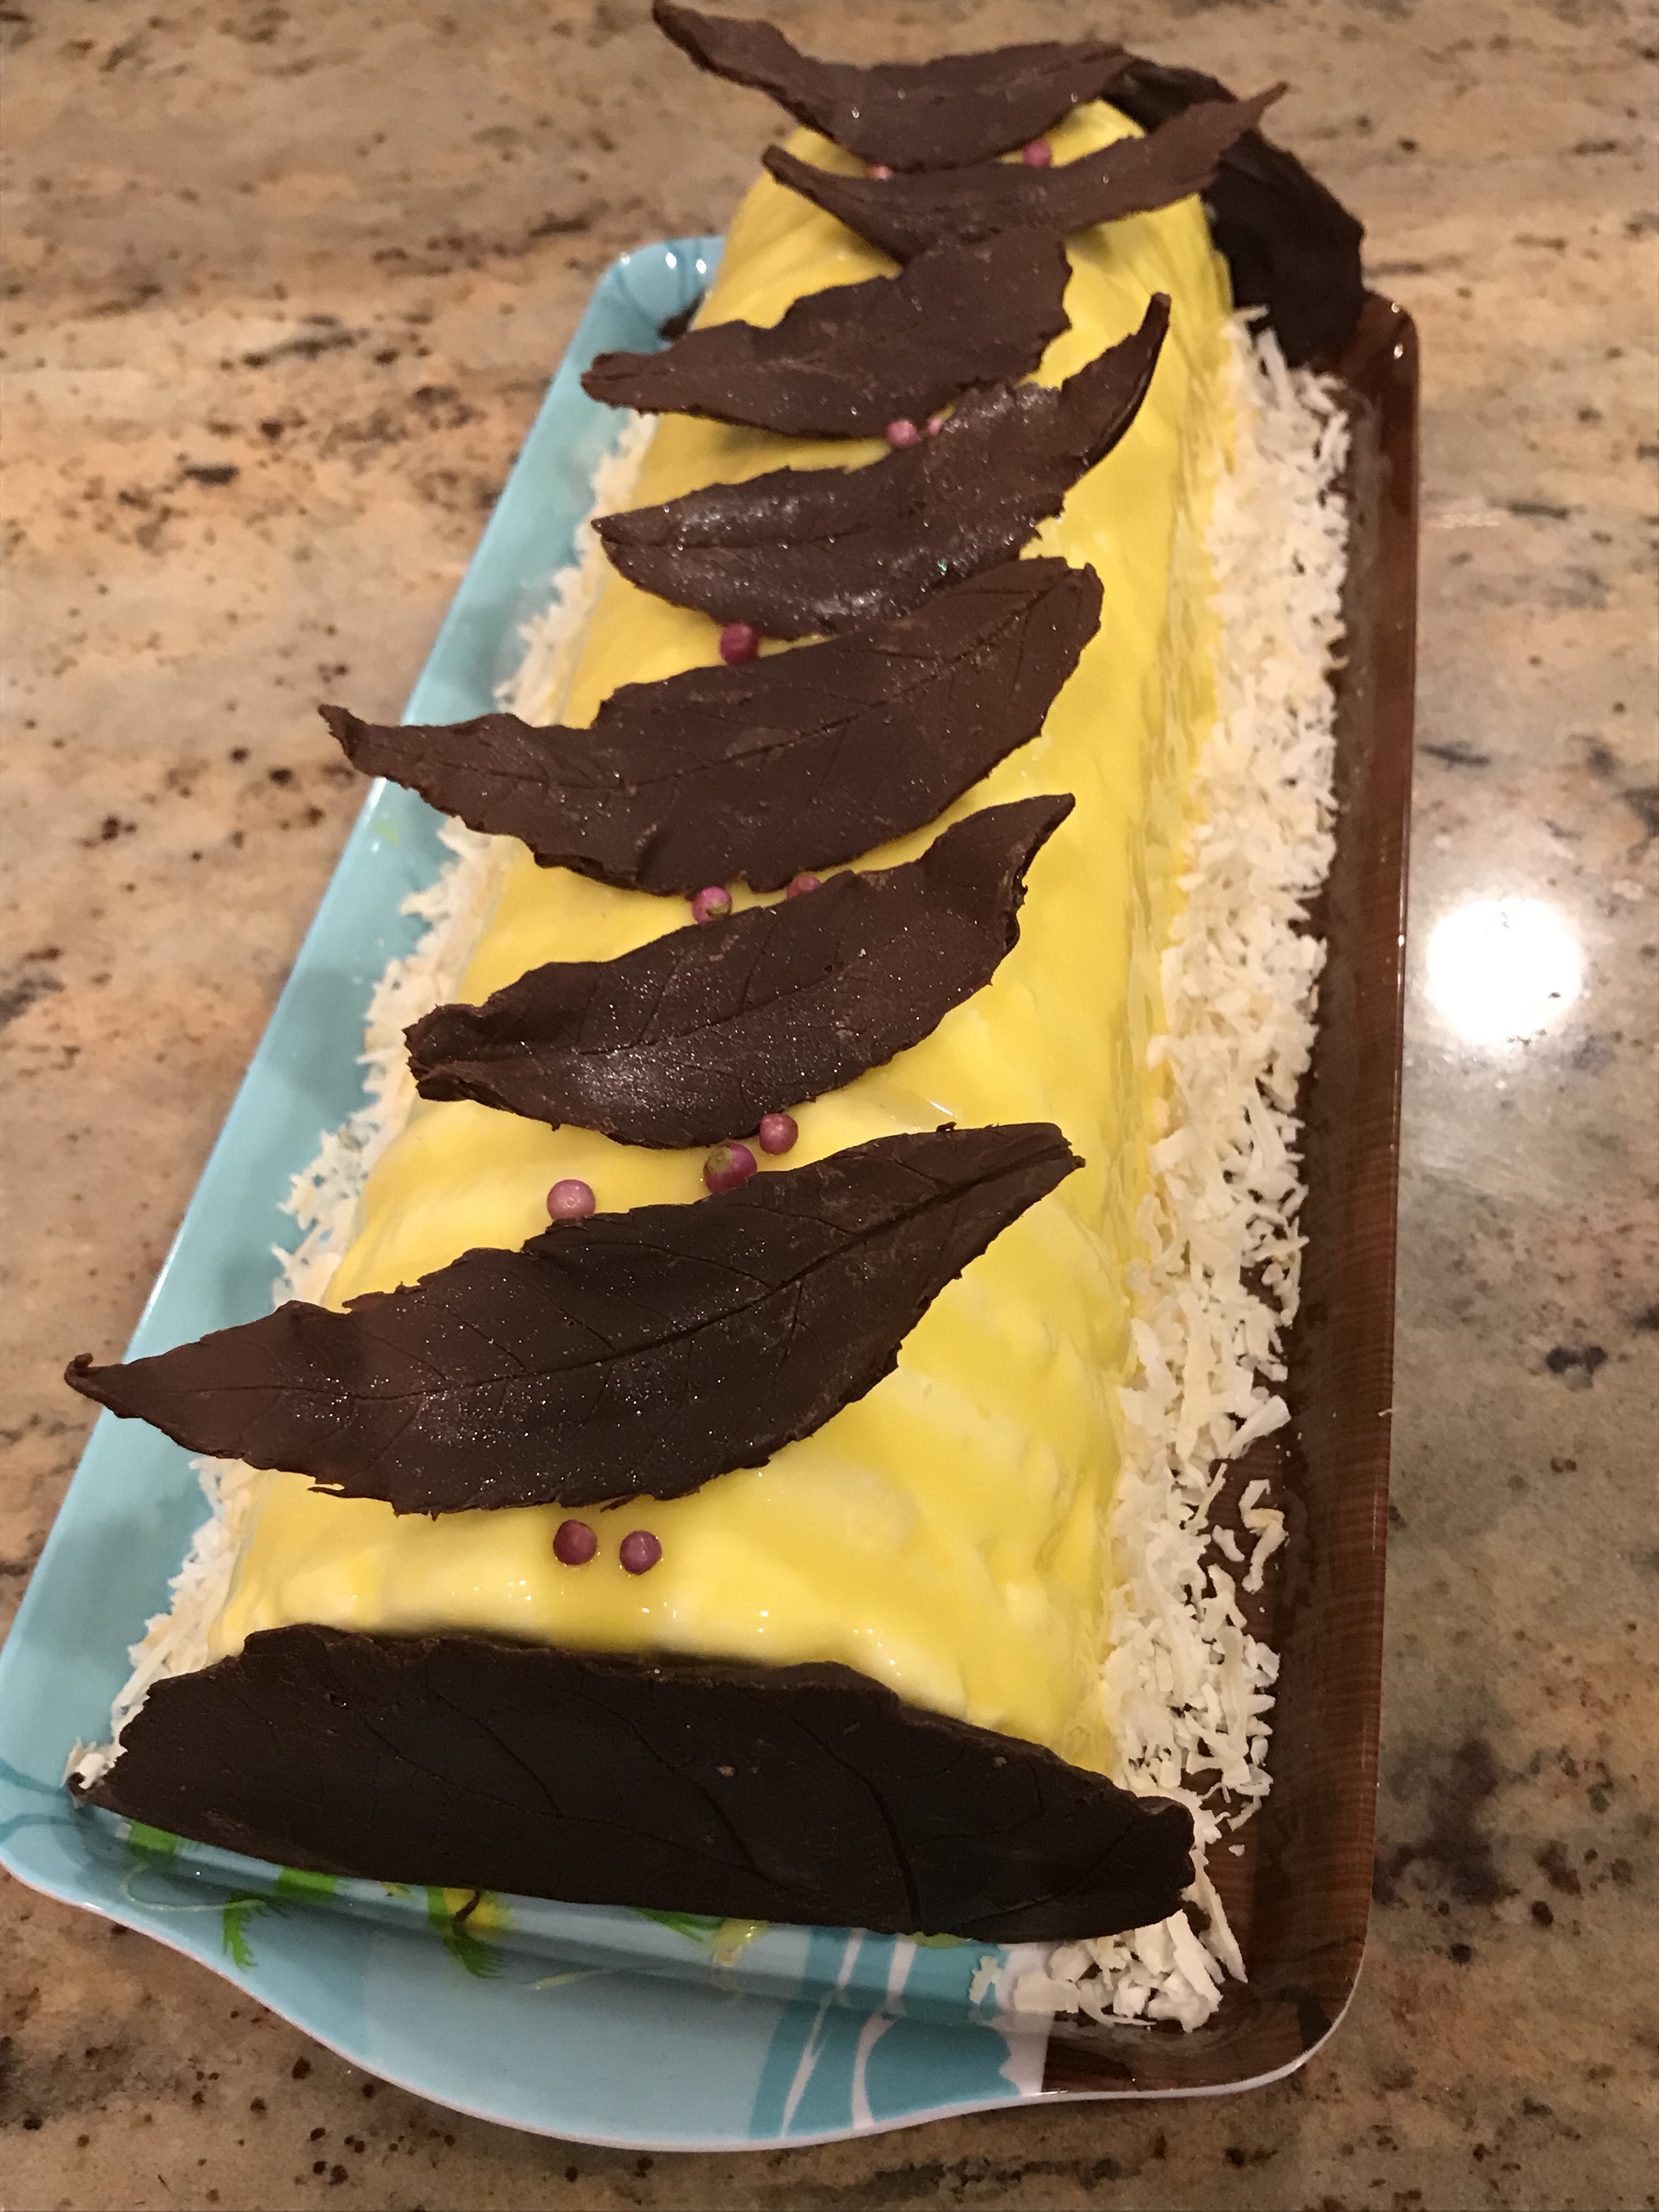
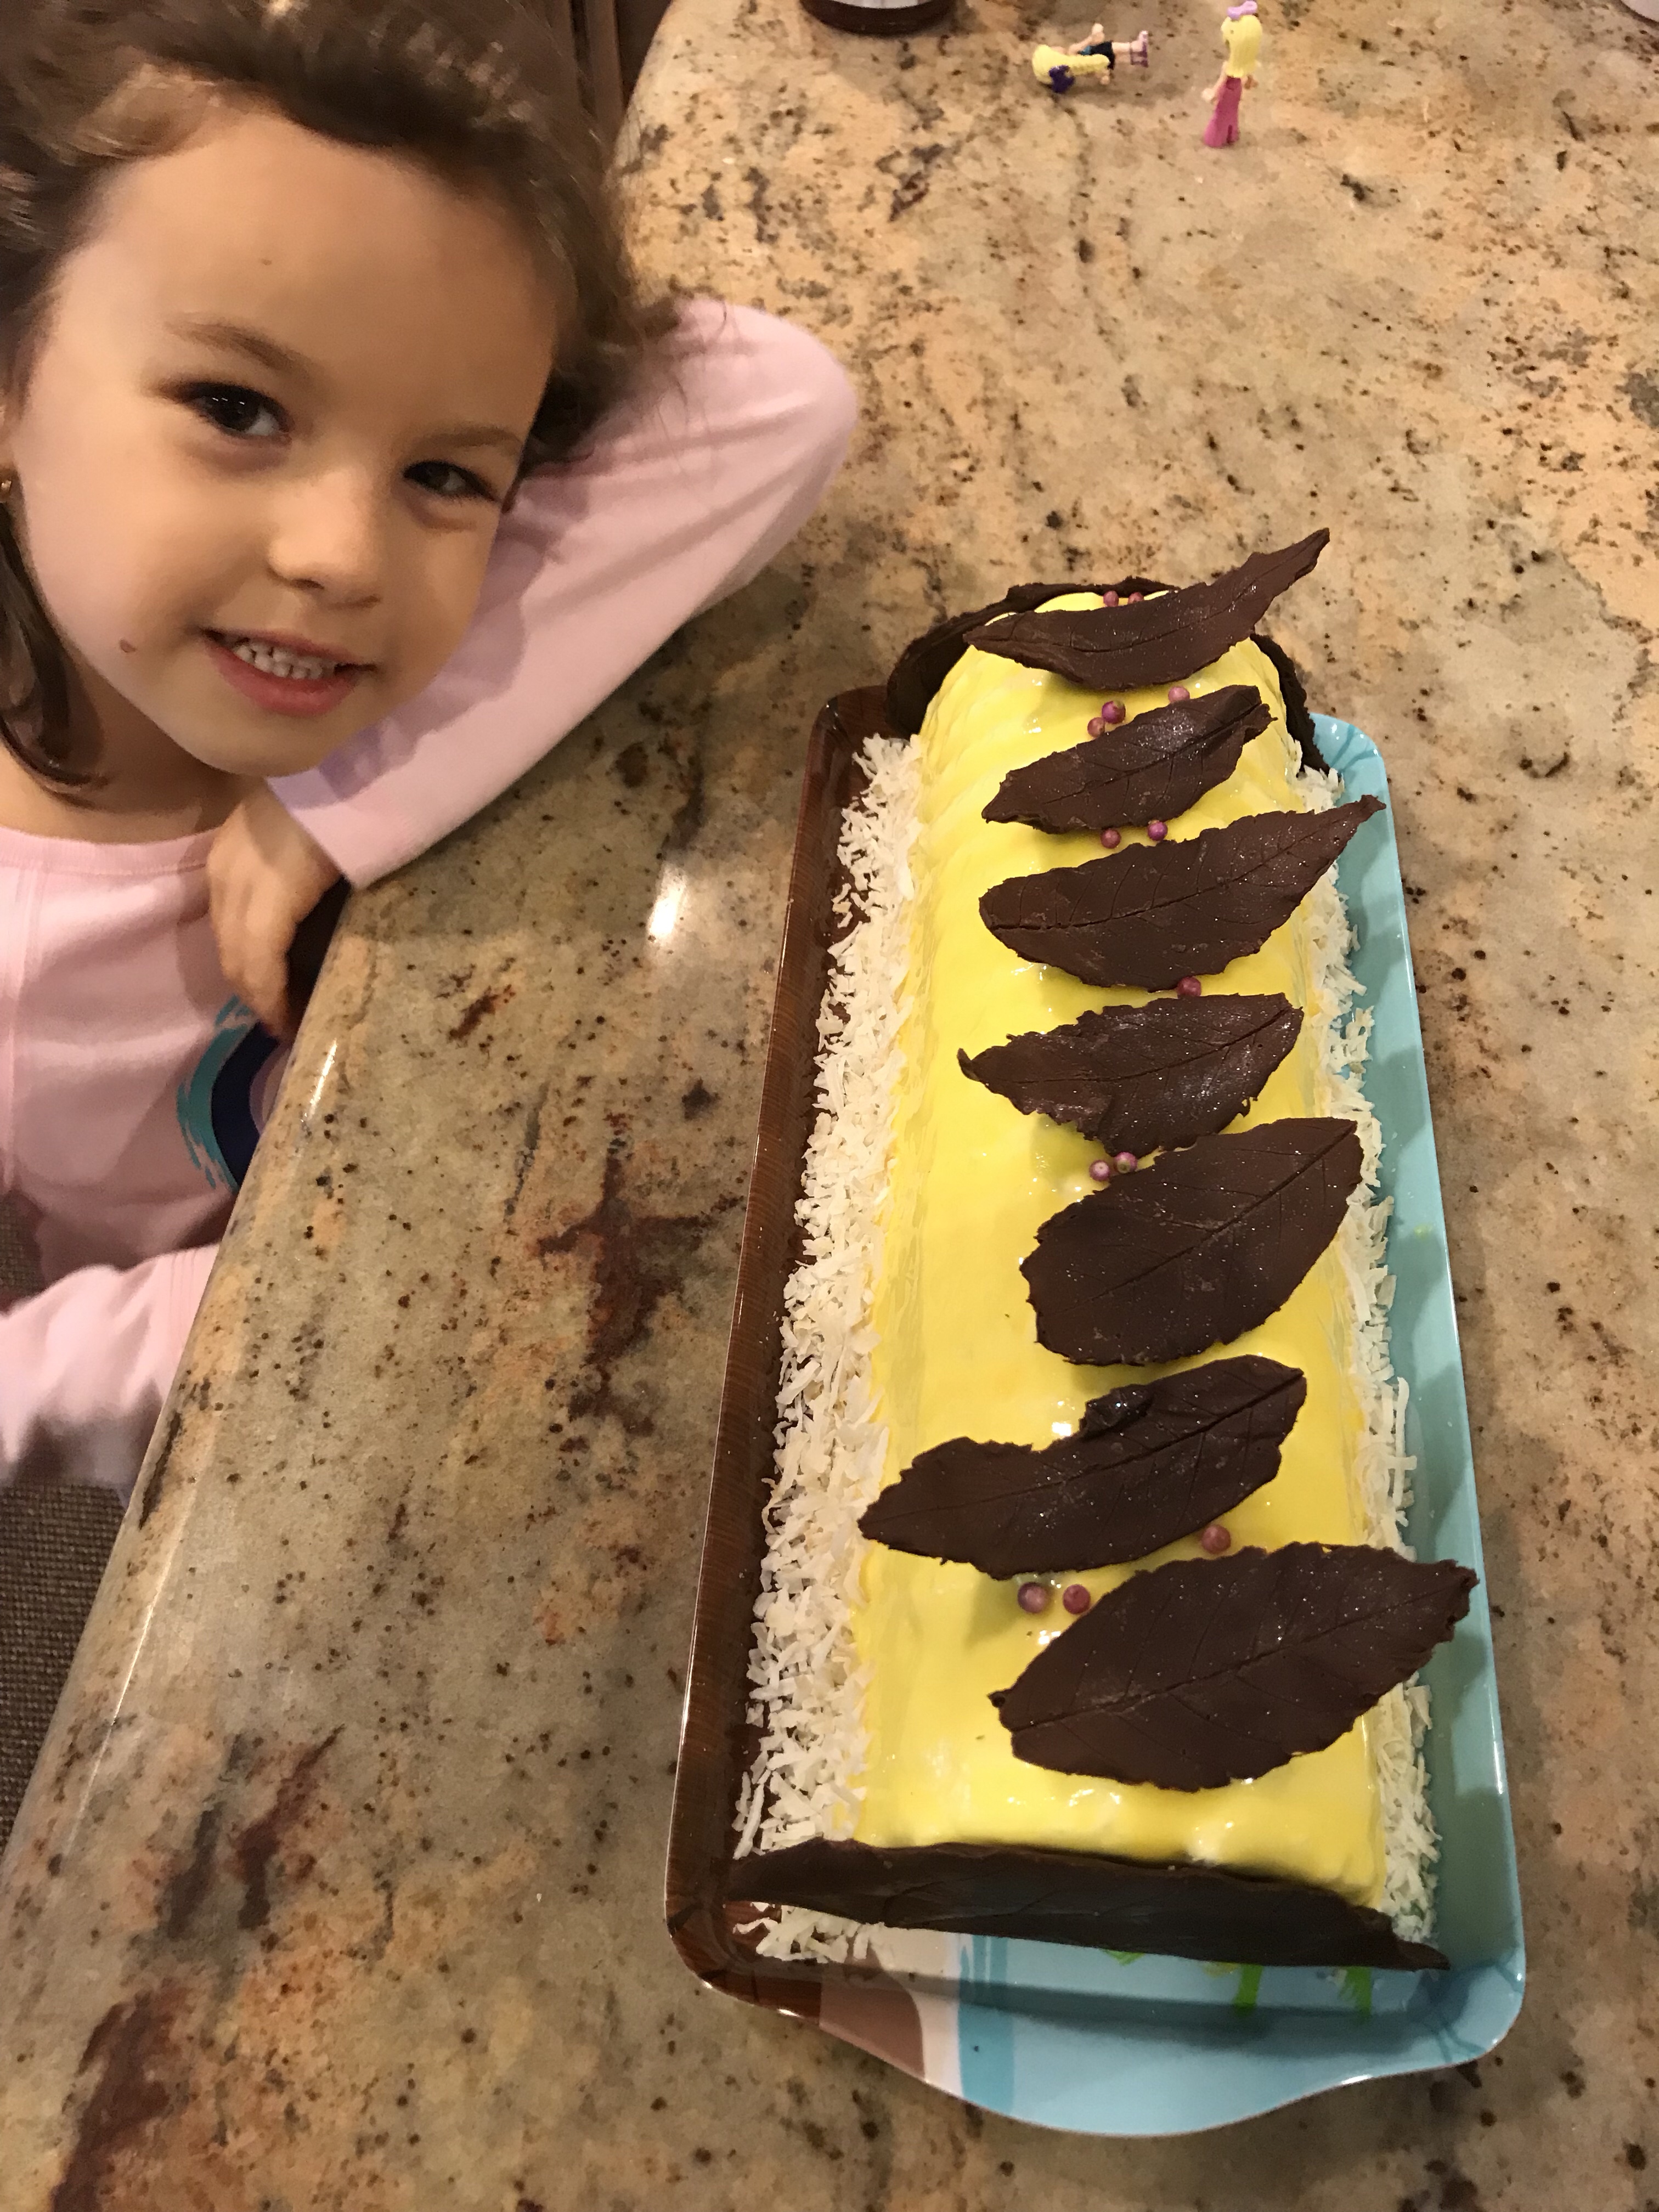
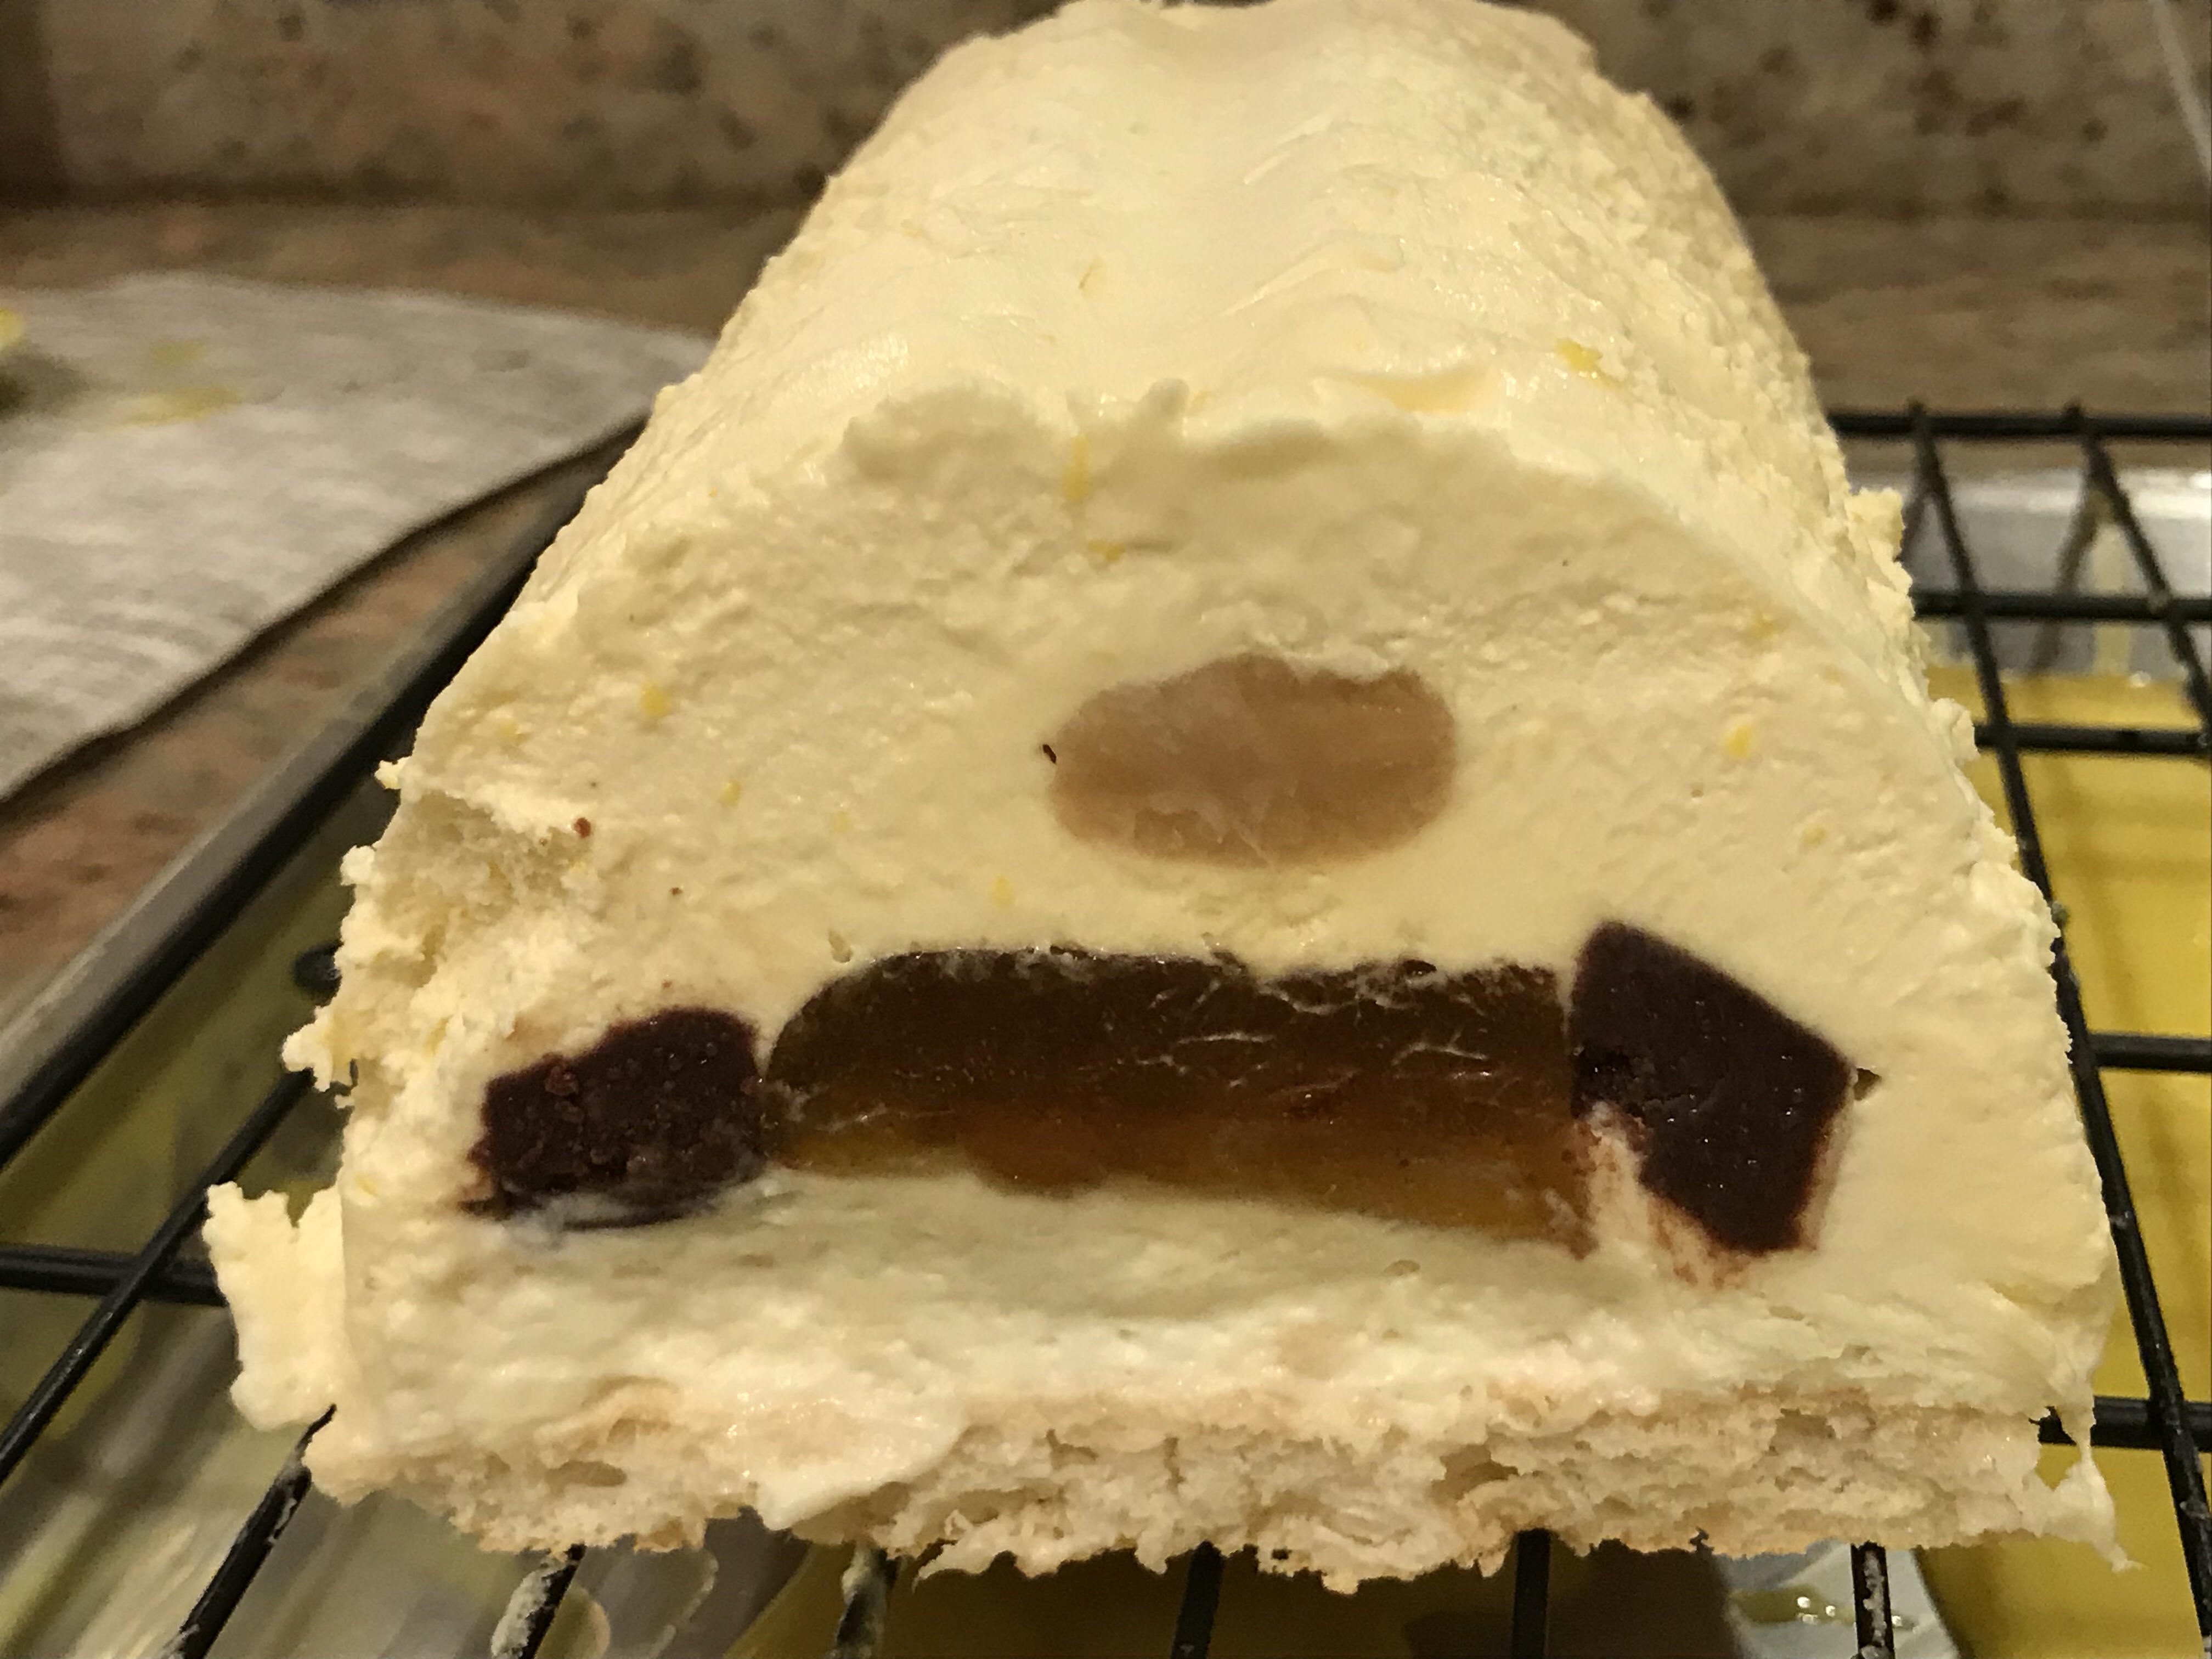
Chocolate leaves rest on top of a mirror glaze with coconut flavor.
Passion fruit ice-cream encases passion fruit gelee, a whiskey caramel and chocolate ganache inserts.
Soursop ice-cream on the bottom over a coconut dacquoise.


Have a stain on your tshirt? Or a clorox mark like I did?

Use wool roving to “paint” over it.
Use the needle felting (from Clover) tools or the embellisher machine (Husqvarna) to push the wool fibers through the fabric and cover the stain up.

Now it is no longer a stained tshirt.
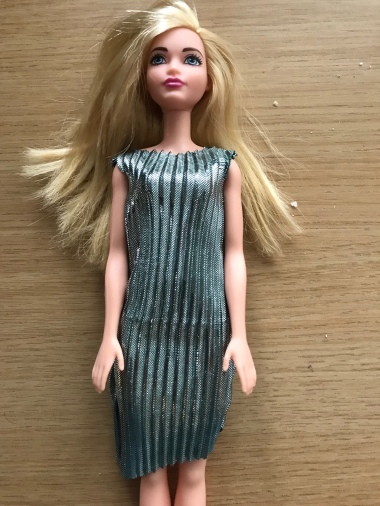
It is finished with some yarn left over for the minie me version. Proud to have done without a pattern.


The Kenmore machine works!!!
It was so gung up that the handwheel did not even move the arm up and down.
It only needed to be cleaned and oiled, it was not dirty inside, i think it was just the old oil that got her stuck, I degreased and re-oiled it and it works like a charm! Very weird the way it threads itself to the side, all metal inside, no plastic anywhere! And the bobbin case and thread adjusters work fine too! It even adjusts the pressure of the foot on the fabric. Looks like it has been serviced in 2002.

Just finished an hour long, or should I say an hour quick project with now pattern.
Used Lycra for the lining and a fold over stretch tulle fabric filled with sparkley small pom poms. The lining was gathered and sewn under a sequin elastic wide band. The folder over raw edges od the tulle were stitched on the side, then the waistline gathered and stitched with a zig zag over the front of the elastic band.


Got two bags of leather today. JoAnns.

Some I will use for trimming a jacket, soft and pliable, others for belts and accessories and just to have on hand.
I stitched through tissue paper on the regular machine and putting the pieces together was ok. Topstitching around the edges, a two hour nightmare. Hand stitching did not work either, sonI just gave up topstitching and left it bare, after cutting all the mistakes out. The initial plan was to have a much wider belt, where the fronts overlapped, but I now have to loose weight for that to happend.


The tassels were easy to make, but take a rectangle and cut slices, by leaving the edge intact, then roll and glue.
The rest of the pieces were glued, stitched or tacked in place.
So I had this polyester velvet blanket from Ikea. It was used in the garage and cut with a blade. It seemed to match the carpet in my bedroom really well color wise, so I decided to finally patch it up.I used the patcher stitch first on the sewing machin with the buttonhole foot. The stitches showed through and it looked pretty ugly.

With the hand felting needle tool from Clover over a brush, I added the wool rocing over the fabric, with some wool yarn and arranged it into the irises bouquet. On the wrong side I layed the yarn down in concentric circles and added pink in the center and around it. I mixed in some lightweight tulle net.


Using the Huskwarna felting machine I “stitched” it all down from both sides.

This machine is just like my daughter’s Sewcool.


It does the same thing, mashes fibers together.
So, here it is, no more holes in the blanket.