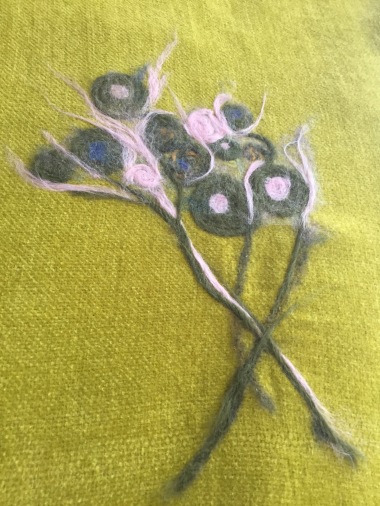
There have been some questions related to the technique I used for making the Field of Poppies blouse. I am new to this technique, so please correct me if I’m wrong in any of my instructions. Also please feel free to add any useful insight.
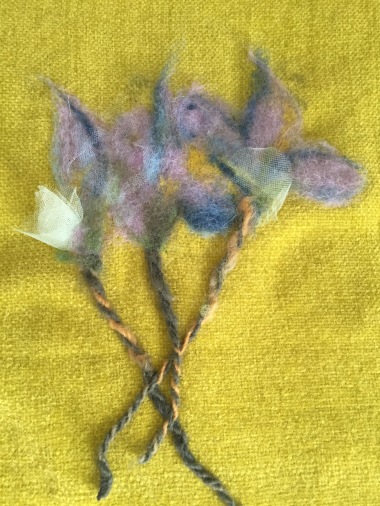
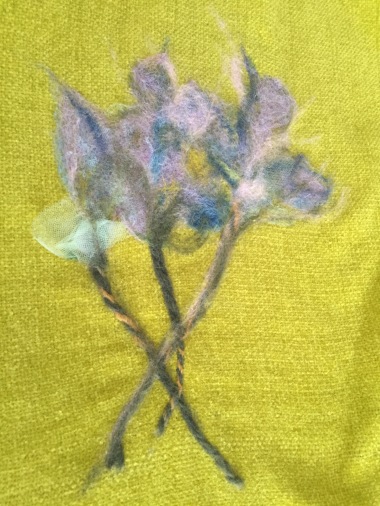
I used nuno felting technique to create the poppies as an embellishment for an otherwise plain sheer silk organza fabric.
To understand the processes I have chosen these definitions from Wikipedia because I couldn’t agree or describe this better:
Felt: “Felt is made by a process called wet felting, where the natural wool fiber is stimulated by friction and lubricated by moisture (usually soapy water), and the fibers move at a 90 degree angle towards the friction source and then away again, in effect making little “tacking” stitches. Only 5% of the fibers are active at any one moment, but the process is continual, and so different ‘sets’ of fibers become activated and then deactivated in the continual process.
This “wet” process utilizes the inherent nature of wool and other animal hairs, because the hairs have scales on them which are directional. The hairs also have kinks in them, and this combination of scales (like the structure of a pine cone) is what reacts to the stimulation of friction and causes the phenomenon of felting. It tends to work well with woolen fibers as their scales, when aggravated, bond together to form a cloth.”
Nuno Felting: “Nuno felting is a Japanese fabric felting technique. It melds loose fiber, usually wool, into a sheer fabric such as silk gauze. This creates a lightweight felt that can totally cover the background fabric or be used as a single decorative design.
The Nuno felting process is particularly suitable for fine garment making, since silk-backed felt ensures a stable felt that will not stretch out of shape like normal felt. Because it is lightweight and easy to manipulate it can also be dyed more readily than traditional felt. Other fabrics or open weaves can be used as the felting background, resulting in a wide range of textural effects and colors.”
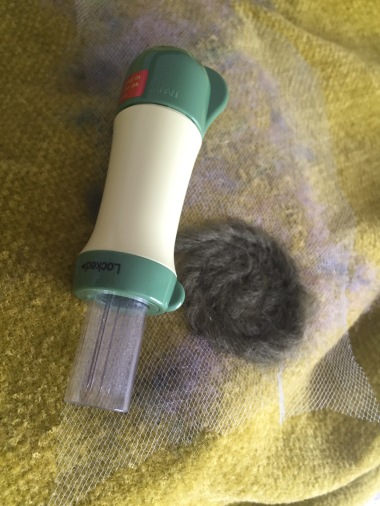
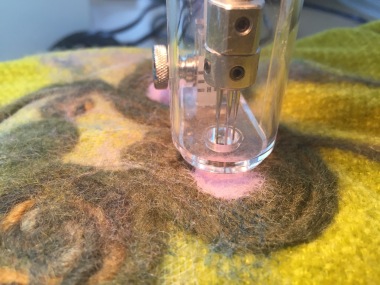
Needle Felting: “Needle felting is a popular fiber arts craft conducted without the use of water. Special barbed felting needles that are used in industrial felting machines are used by the artist as a sculpting tool. Using a single needle or a small group of needles (2-5) in a hand held tool, these needles are used to sculpt the wool fiber. The barbs catch the scales on the fiber and push them through the layers of wool tangling them and binding them together much like the wet felting process. Fine details can be achieved using this technique and it is popular for 3D felted work.”
Roving: “A roving is a long and narrow bundle of fiber. It is usually used to spin worsted yarn. A roving can be created by carding or combing the fiber, and is then drawn into long strips where the fiber is parallel. Roving is similar to sliver.”
When selecting the base material for nuno felt, look for a thin, lightweight fabric with a loose weave that you can breath through. If you can breath easily through the fabric, then the wool fibers will be able to pass through the fabric’s weave to the other side and entangle together to create an irregular weave over the fabric base.
I used a sheer crinkled silk organza for this project. I wanted to transform my plain sheer silk organza into something unique. So I experimented with nuno felting: wet felting with a sheer fabric base. The aim was to reduce the sheerness of the silk, by adding embellishments on a lightweight summer blouse.
Materials:
- Lightweight, loose weave fabric: cotton muslin or silk
- Natural wool fibers in different colors. I used alpaca fibers for the blouse (pinks, reds, white, greens)
- Bubble wrap
- Bamboo table mat or blind for larger projects
- Oilcloth – table cover. This is needed to protect your work surface from soap and water.
- Synthetic mesh fabric
- A rolling pin
- Soap
- Warm water
- Spray bottle
- Rubber Bands
The process:
Cover your table with the oilcloth.
Lay a layer of bubble wrap.
I did the felt only on one side of the fabric to keep it as lightweight as possible.The fibers do pass through the fabric and the design is visible on the backside, but it is not as pronounced.
If your design calls for a double sided felt, you can lay the fibers for one side over the bubble wrap, then the base fabric and the next layer of fibers.
If you are making a scarf and you do not want to hem the fabric, you can lay the fibers around the edge of the fabric on both sides. They will create a nice border of felt hiding the row edges.
Lay the silk over the bubble wrap. The felt has to be created before the pattern is cut from your fabric. The felt will shrink and it will shrink the fabric with it, thus modifying the shape of the pattern if you do the felt after cutting the fabric, distortions can occur and it may not be the effect you were looking for.
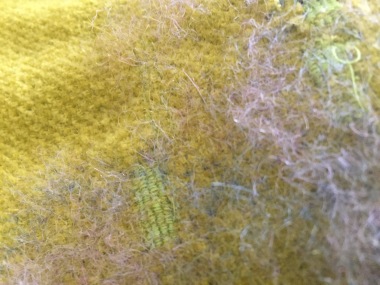
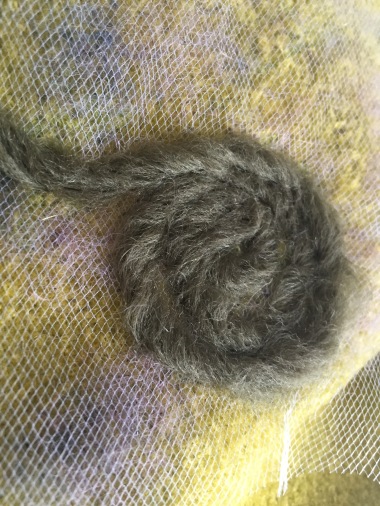
Lay the fibers over the silk in thin layers. Pull the fibers from the roving in small chunks. If you use roving, then the hairs are already aligned all in one direction. Place them over your fabric and pull them apart so the layer is thin, but not so hard as to have large empty spaces between the fibers. Make sure the hairs run in one direction, then apply another thin layer with the fibers at a 90 degree angle to your first layer. This will allow them to felt together easier. You can also manipulate the fibers by hand first to give them a specific shape if you want it to be more defined, by rubbing them together or tacking them together with a felting needle, just enough to keep them together, do not felt all the way. You can use coockie cutters over a plastic brush or styro foam to create the shape with the felting needle.
Try to apply fibers of different colors on top of each other, to create highlights or shadows, like you would with paint. The colors will blend together during the process. The wool fibers can be combined with other fibers like shiny rayons or silk fibers but in moderate quantities, they will become entangled with the wool fibers and will be part of the felt. I added ribbons of bias cut fabric remains from the silk organza in between the fibers that created the grass. The edges remain raw and some ribbon ends are loose, creating movement and interest.
When your design is done, stop worrying about it. It will not have the exact shape it does now after the whole process, but will be similar. Remember, these fibers will melt together with the fabric so there will be change in shapes. The fibers will force the fabric to crinkle around the design as the fibers shrink during the process.
Lay the synthetic mesh over the design carefully.
Spray wet the design surface with soapy warm water. With the palm of your hand start to rub the fibers slowly and lightly at first and then adding more pressure, in circular motion. Do this for about 10 minutes until you see the fibers entangled.
Then remove the mesh and add the bamboo mat over the design.
Roll the bubble wrap, fabric, fibers and the bamboo over a rolling pin. Tie with rubber bands to keep the roll tight.
Roll about 100-150 times in one direction.
Unwrap and reroll in the other direction, rolling for another 100-150 times. Unwrap.
Screw up the fabric into a ball and throw it into the silk or over a towel. Repeat this until the fabric begins to crinkle. This will make the felt stronger.
Let it dry and the felt is done.
Now you can use the pattern to cut out the embellished fabric if it was meant for a garment.
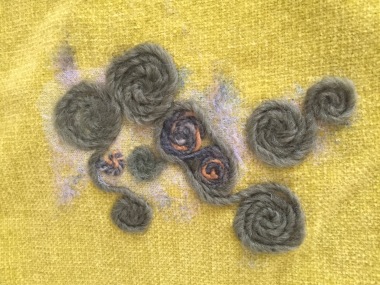
To add more accents I used free motion embroidery on top of the wool fibers. You can add more embelishments like beads, pearls, sequins for a richer design.
I’m sorry I didn’t take pictures during the process, I promise I will next time I do this.
In the meantime, since pictures do speak more then words, you can have a look at this tutorial from flickr:
http://www.flickr.com/photos/ray_chel/414476947/in/photostream/
Make sure you click this link for extraordinary felts as inspiration: http://exhibitions.cooperhewitt.org/Fashioning-Felt/
